Melody's Musings
Chia Seed Banana Pudding 'Lasagna'- a twist on a childhood favorite
The 1990s were a glorious time filled with recipes involving pudding and crackers. One of those was to use 'nilla' wafers in layers with pudding and whipped topping to make a dessert style lasagna. Since going low glycemic and gluten free, it had been forever since having this recipe available to me so when I saw that keto gluten free vanilla wafer cookies existed, I decided to reincarnate this recipe in a form I can now enjoy despite my dietary restrictions. Please note that I am in no way sponsored by any of the brands represented here, they just happen to be what I use for this recipe.
As promised in a prior blog post, all of my recipes are brought to you without ads and without my life story so without further adieu, the recipe:
For this you will need:
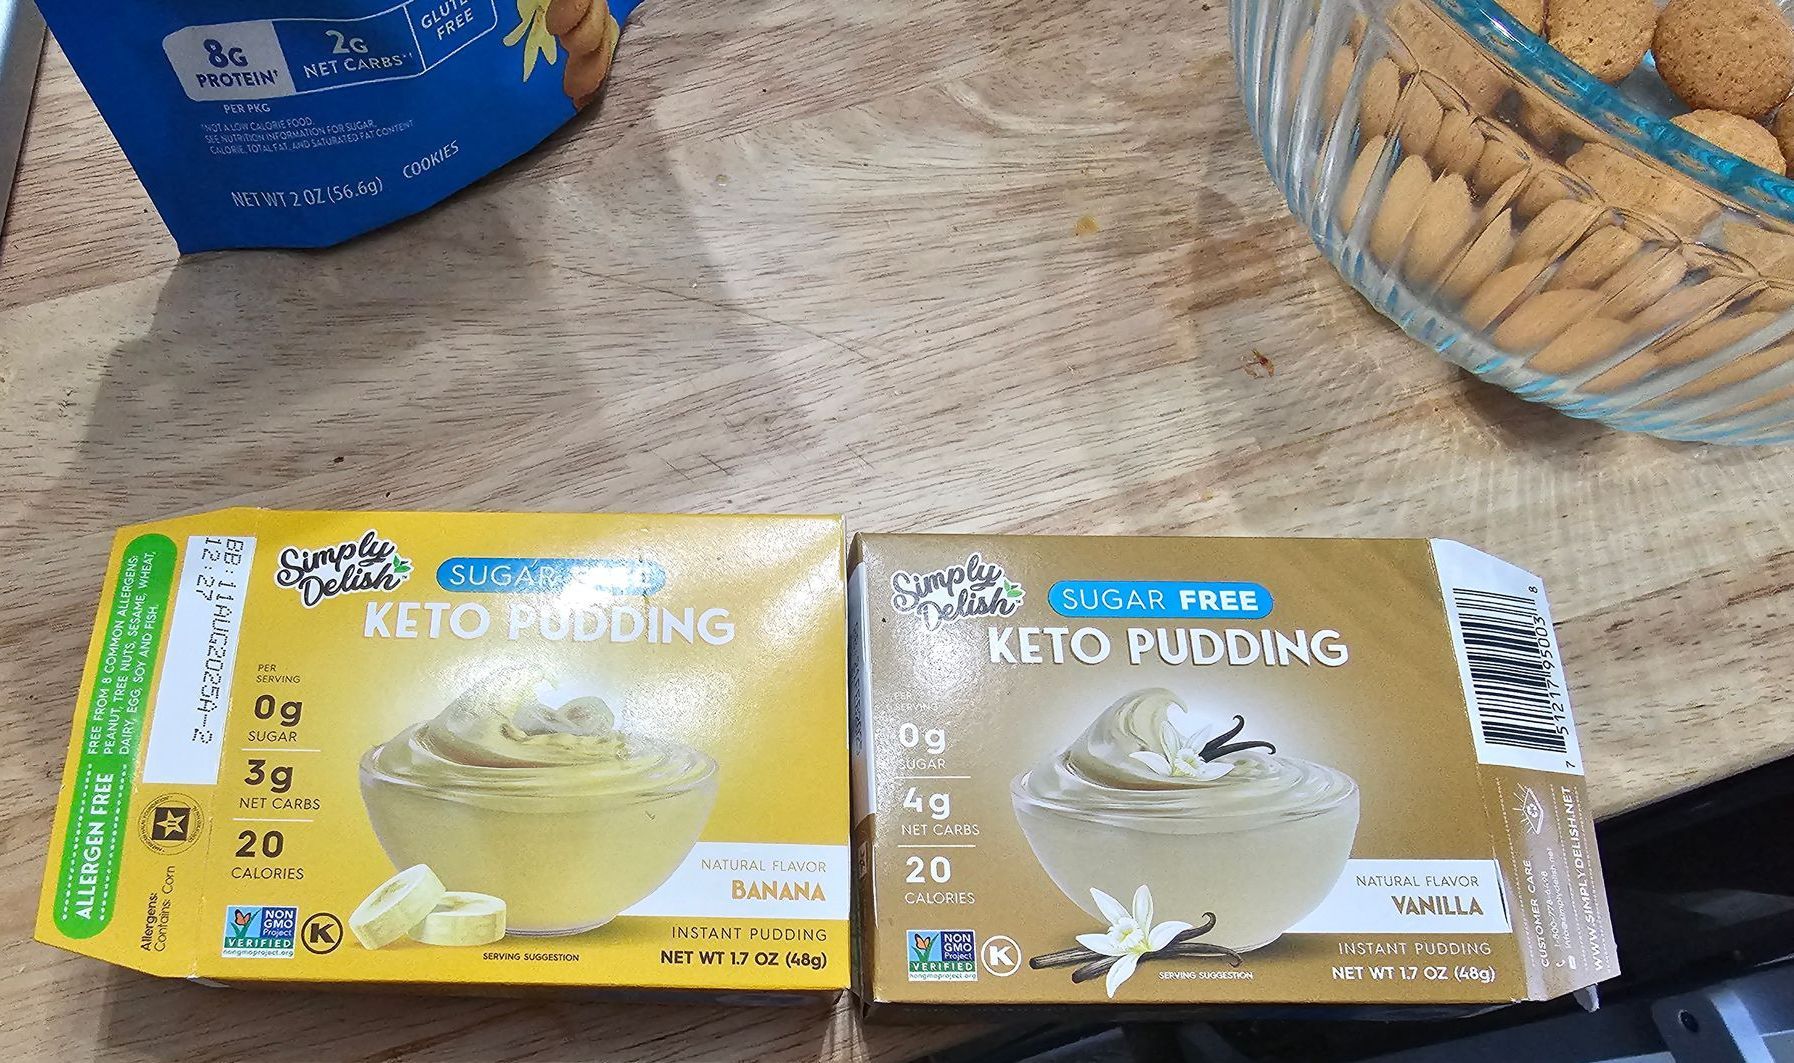
1 Box Keto Banana Pudding Mix
1 Box Keto Vanilla Pudding Mix
2 Tsp Chicory Inulin *
1/4 Tsp Salt *
1/4 Tsp Vanilla Extract *
2 Tbsp Chia Seeds
2 Thinly Sliced Bananas
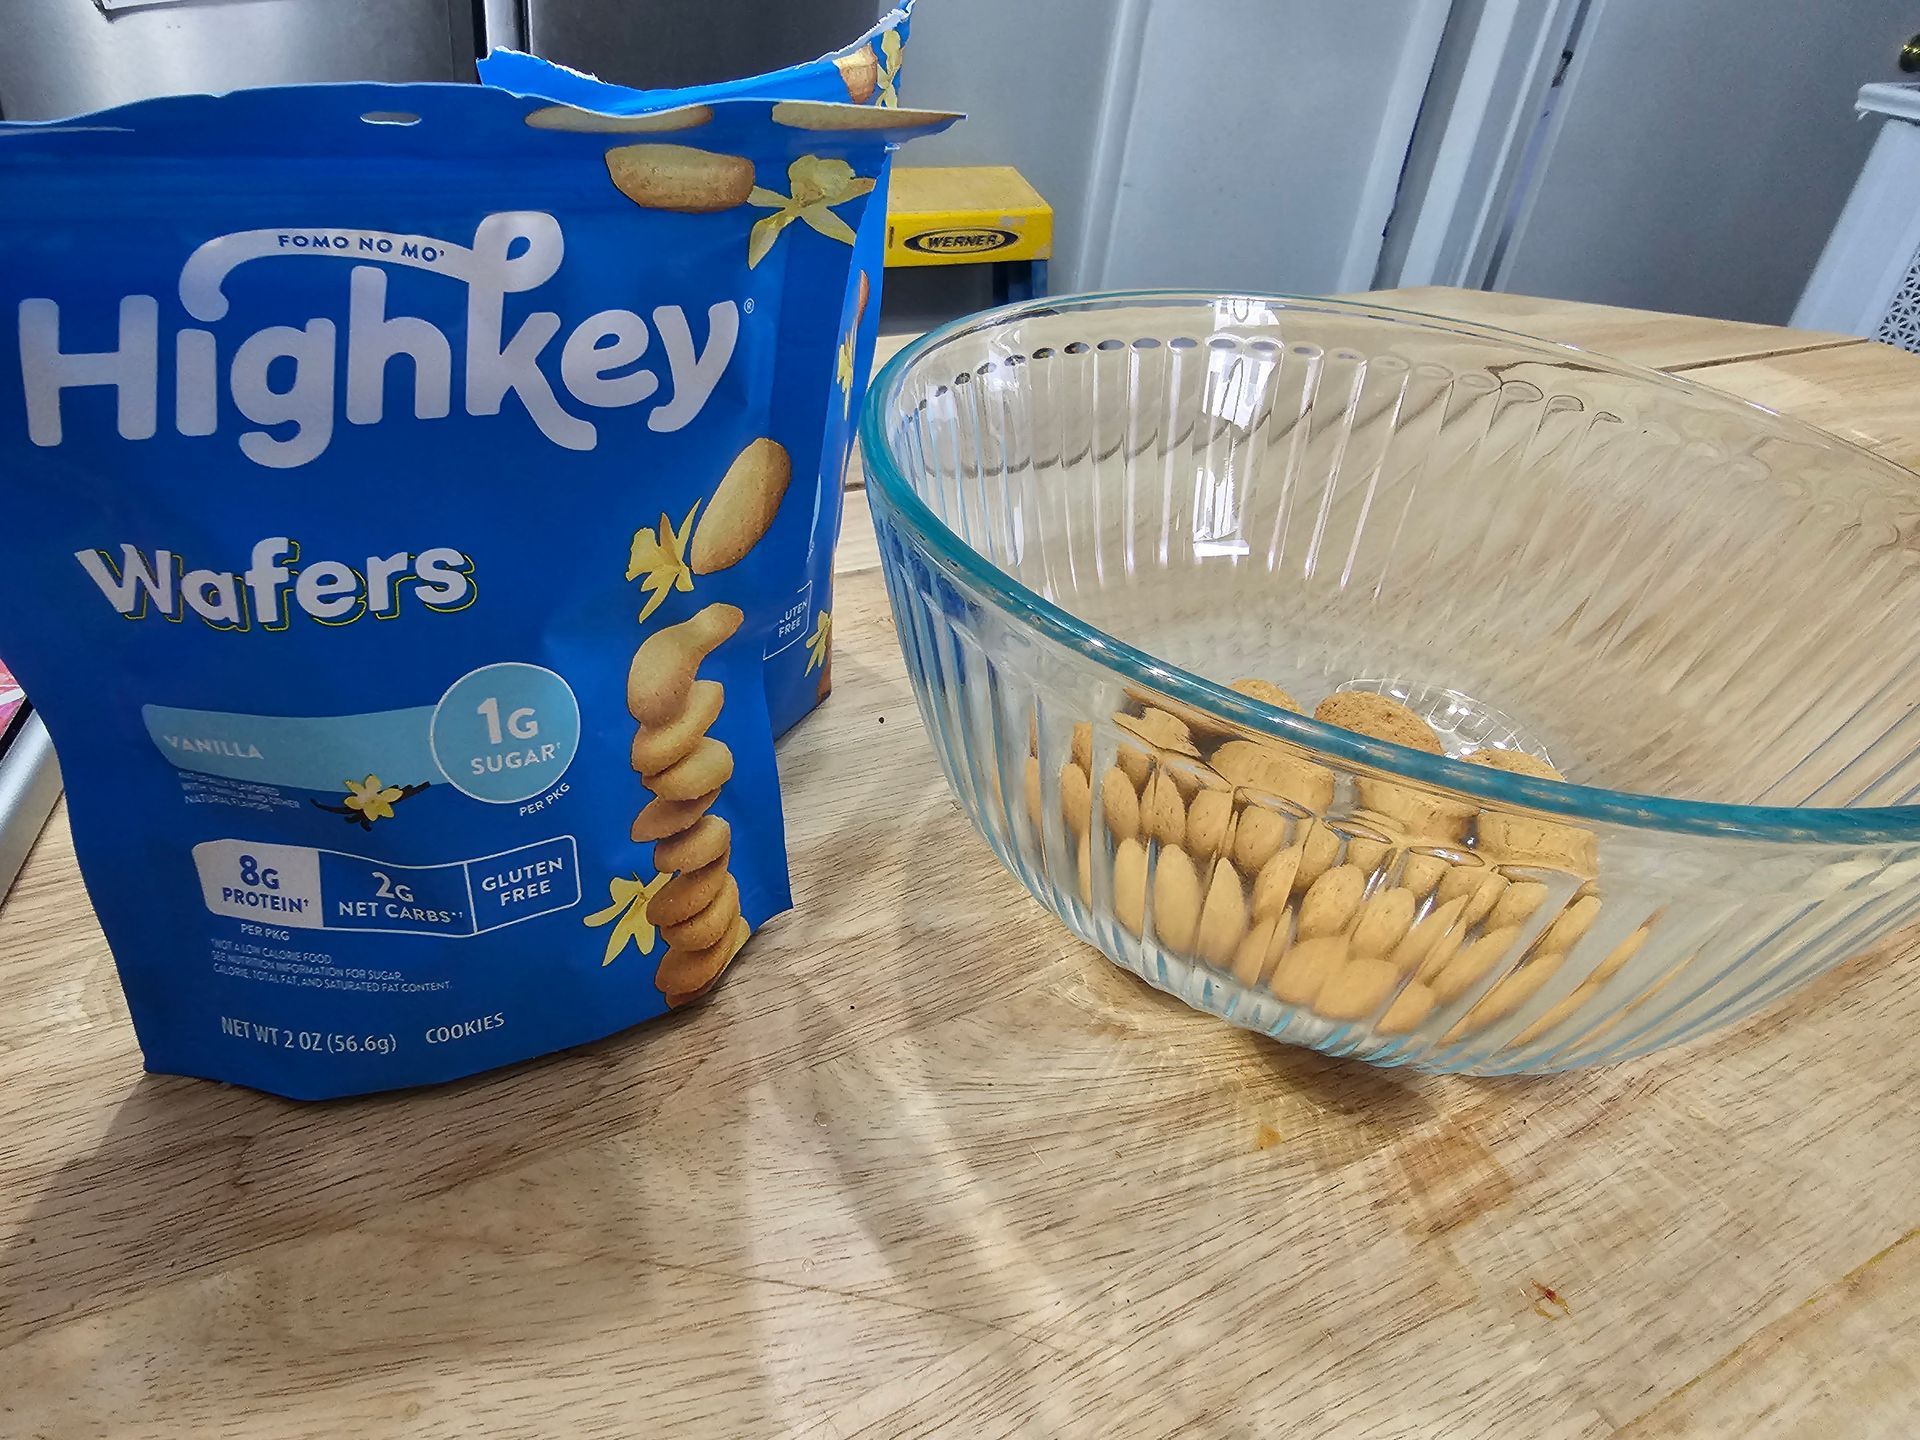
2 Bags High Key Keto Vanilla wafers
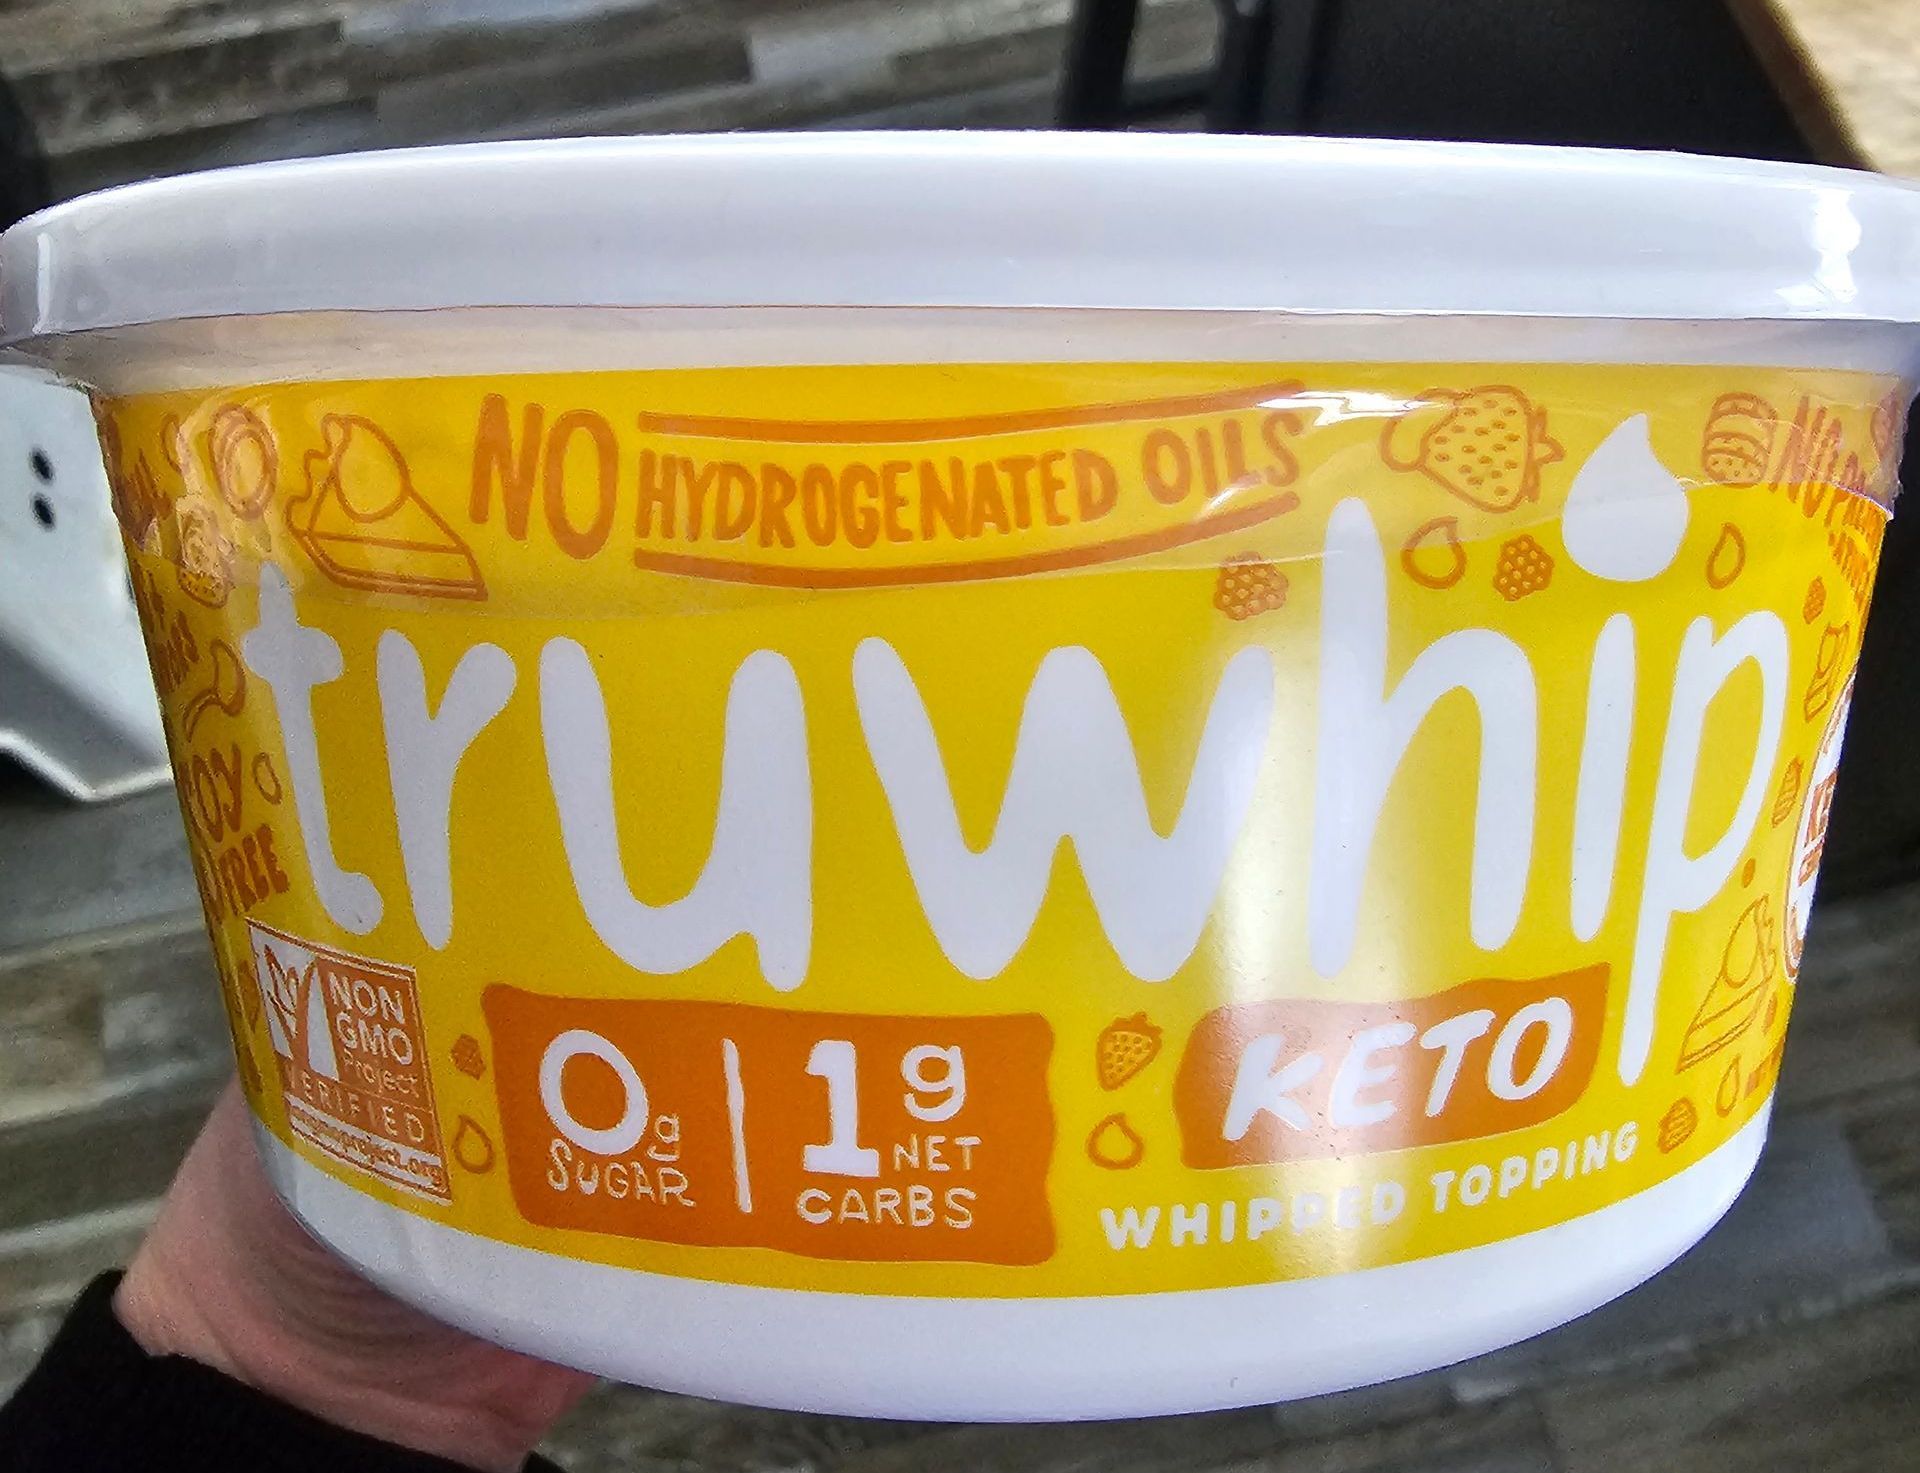
2 Tubs Tru Whip Keto (or vegan if you're vegan)
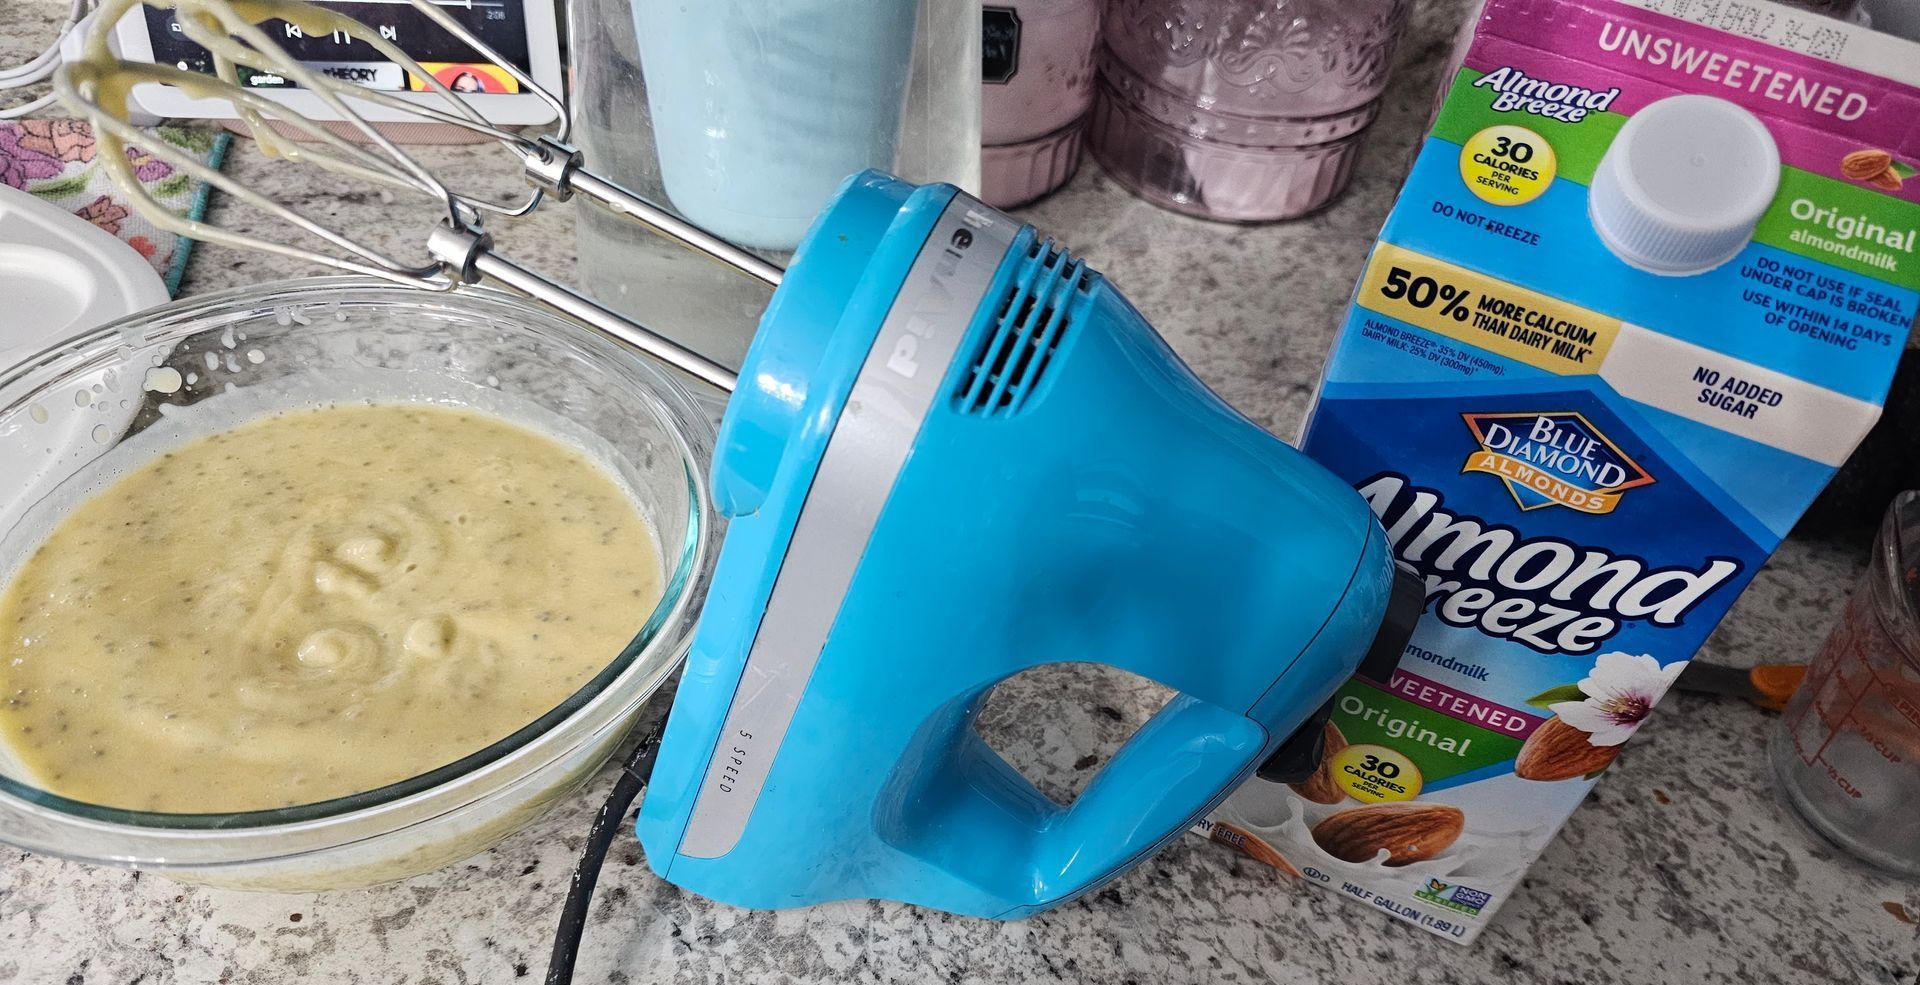
3 Cups Almond Milk (or your preferred milk or milk substitute. Use more milk if you're using animal milk according to the box instructions for your pudding mix)
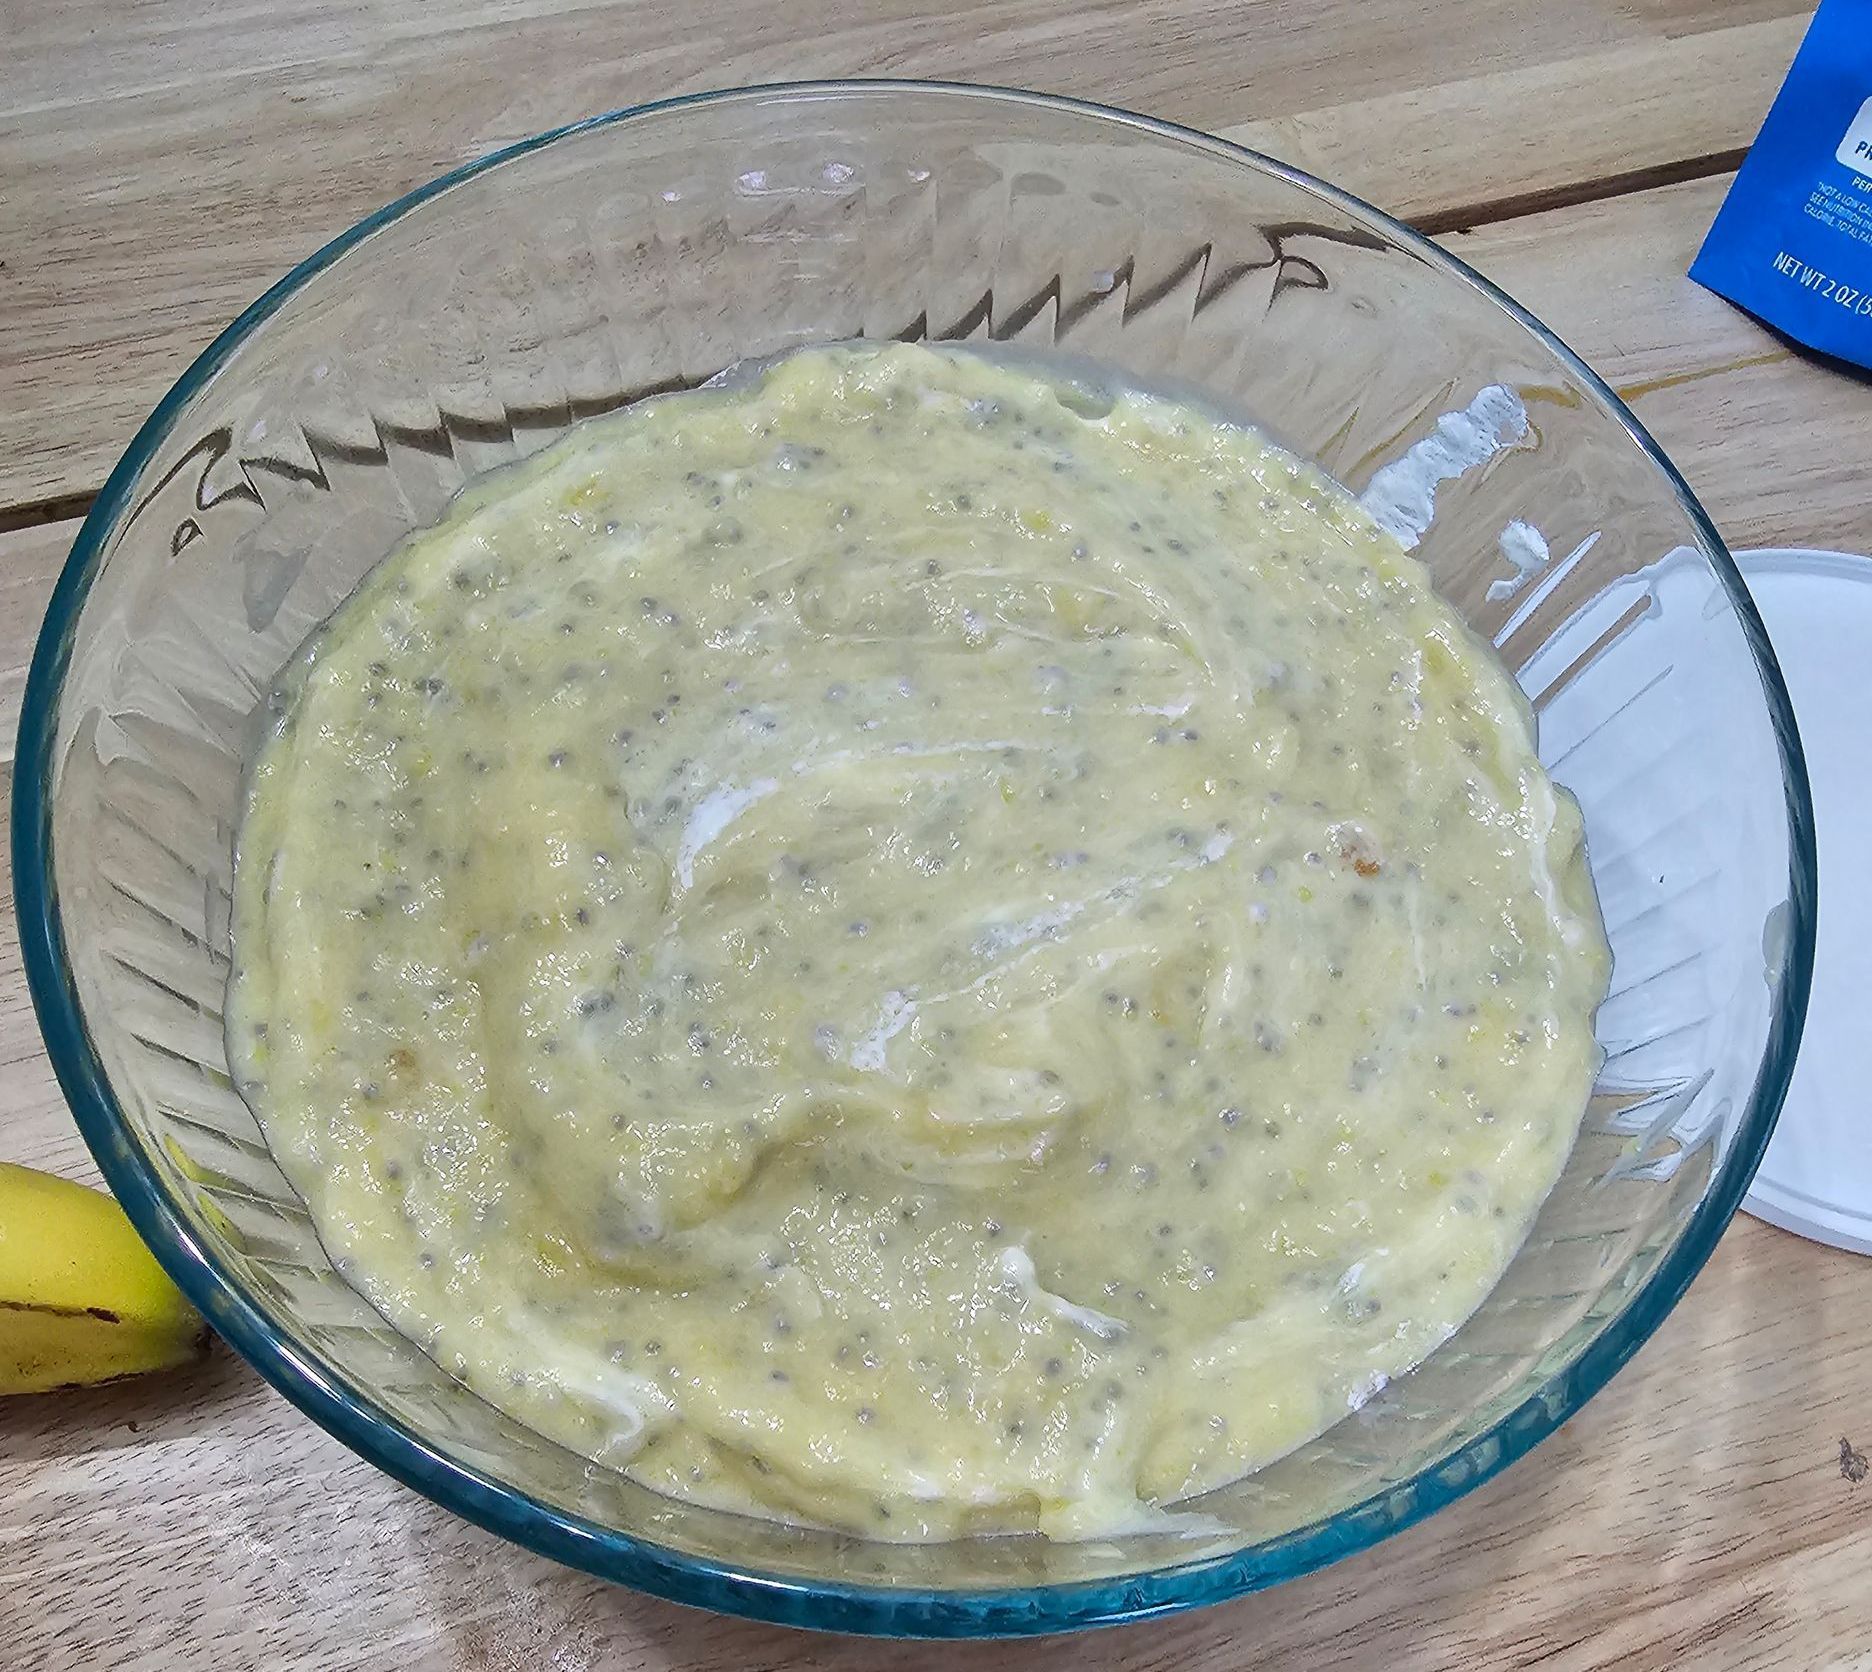
- Mix both boxes of pudding, chia seeds, vanilla*, salt*, inulin* and almond milk (or other milk) in a bowl with a hand mixer. Start on low speed and work up to a medium speed. Mix until thickened according to box instructions.
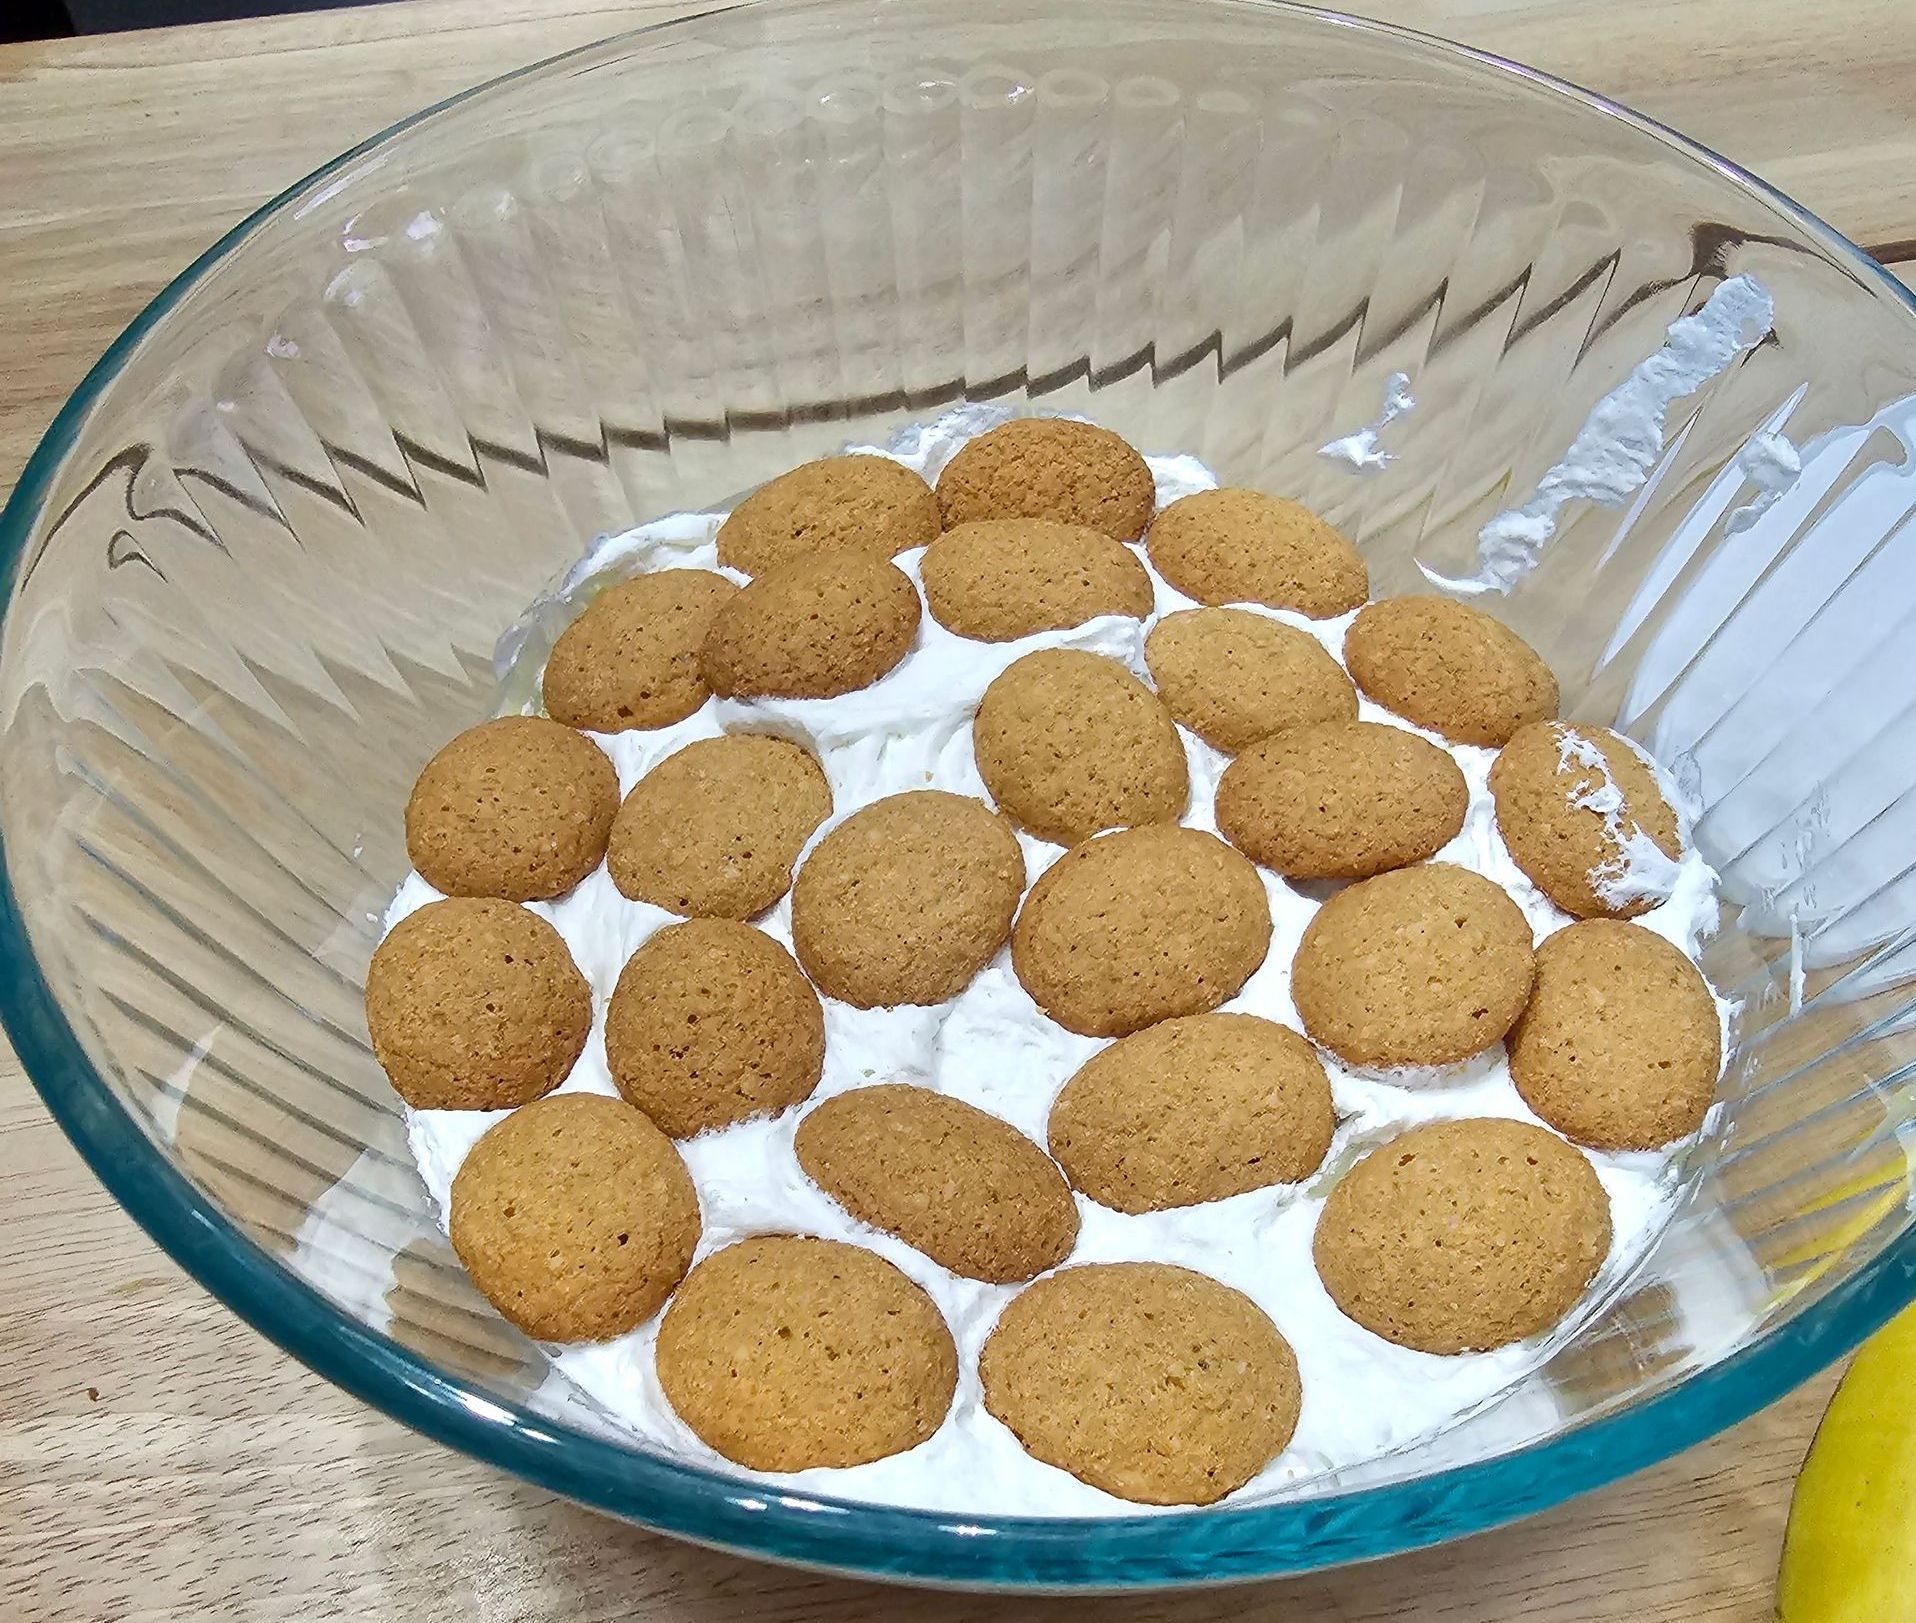
*Optional ingredients are used to mask the stevia aftertaste in this particular brand of Keto Pudding Mix from Simply Delish. I have found that these elements help the pudding to taste more 'normal'. - In a separate bowl or fancy glass serving dish, create a layer of vanilla wafers.
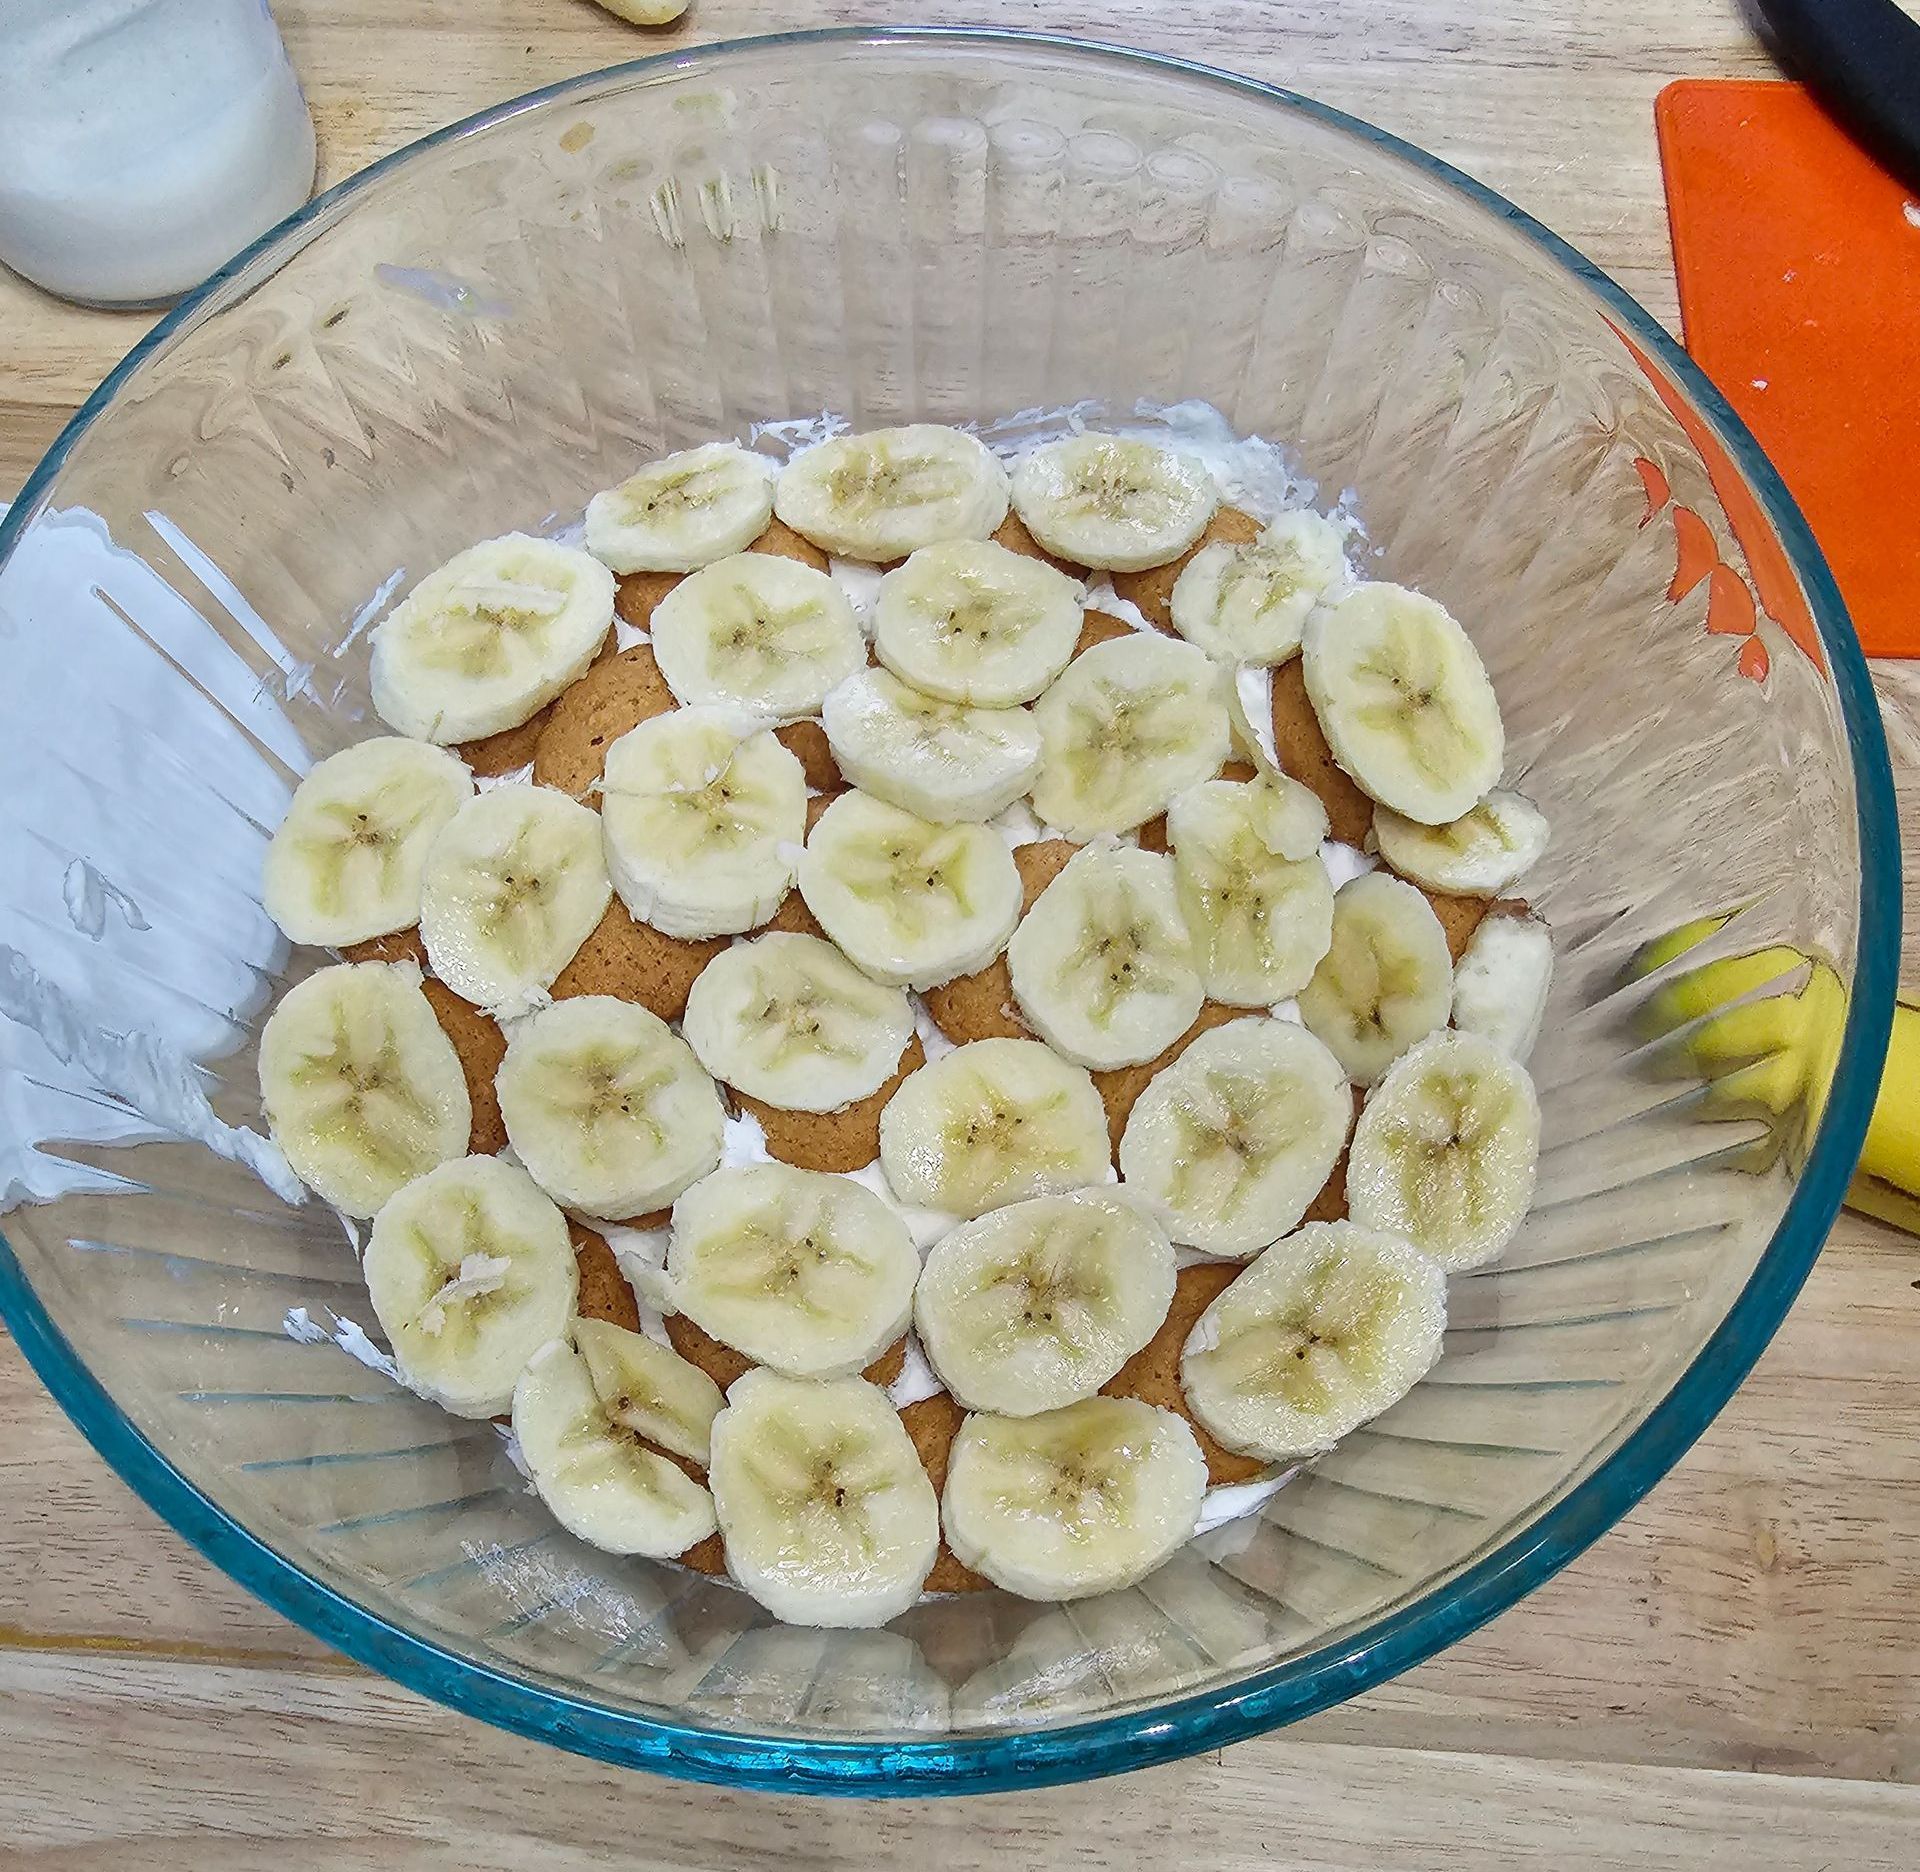
- Layer sliced bananas directly on top of the layer of vanilla wafers.
- Add about 1/2 of the pudding chia seed mixture on top of the banana layer.
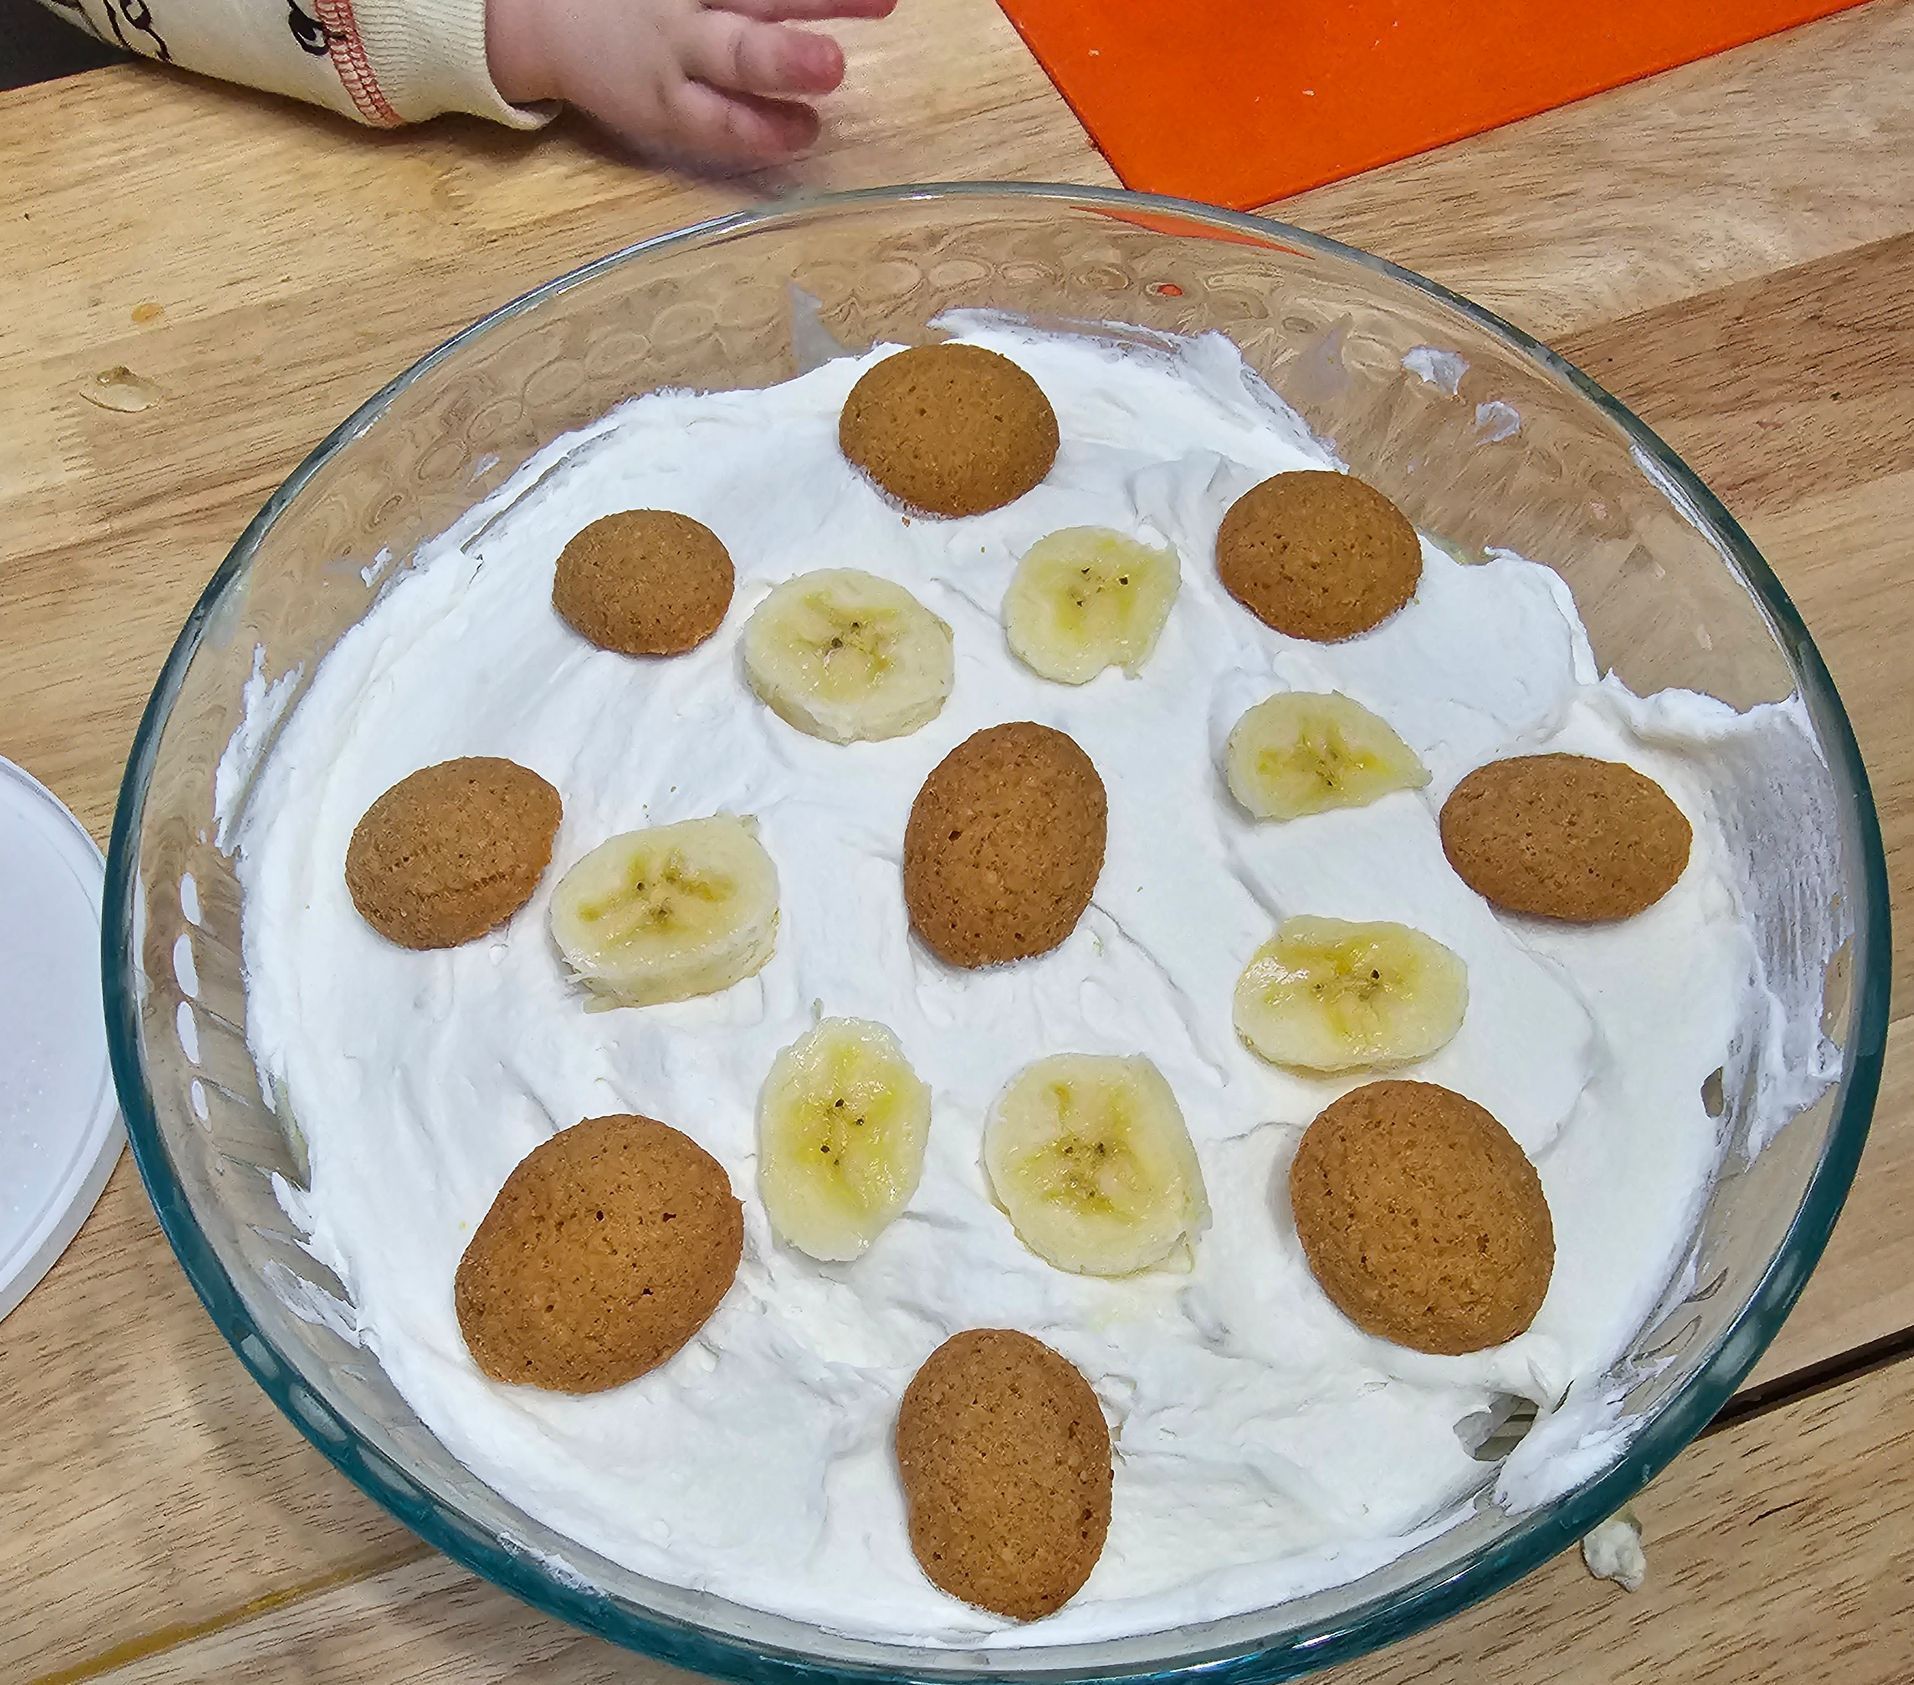
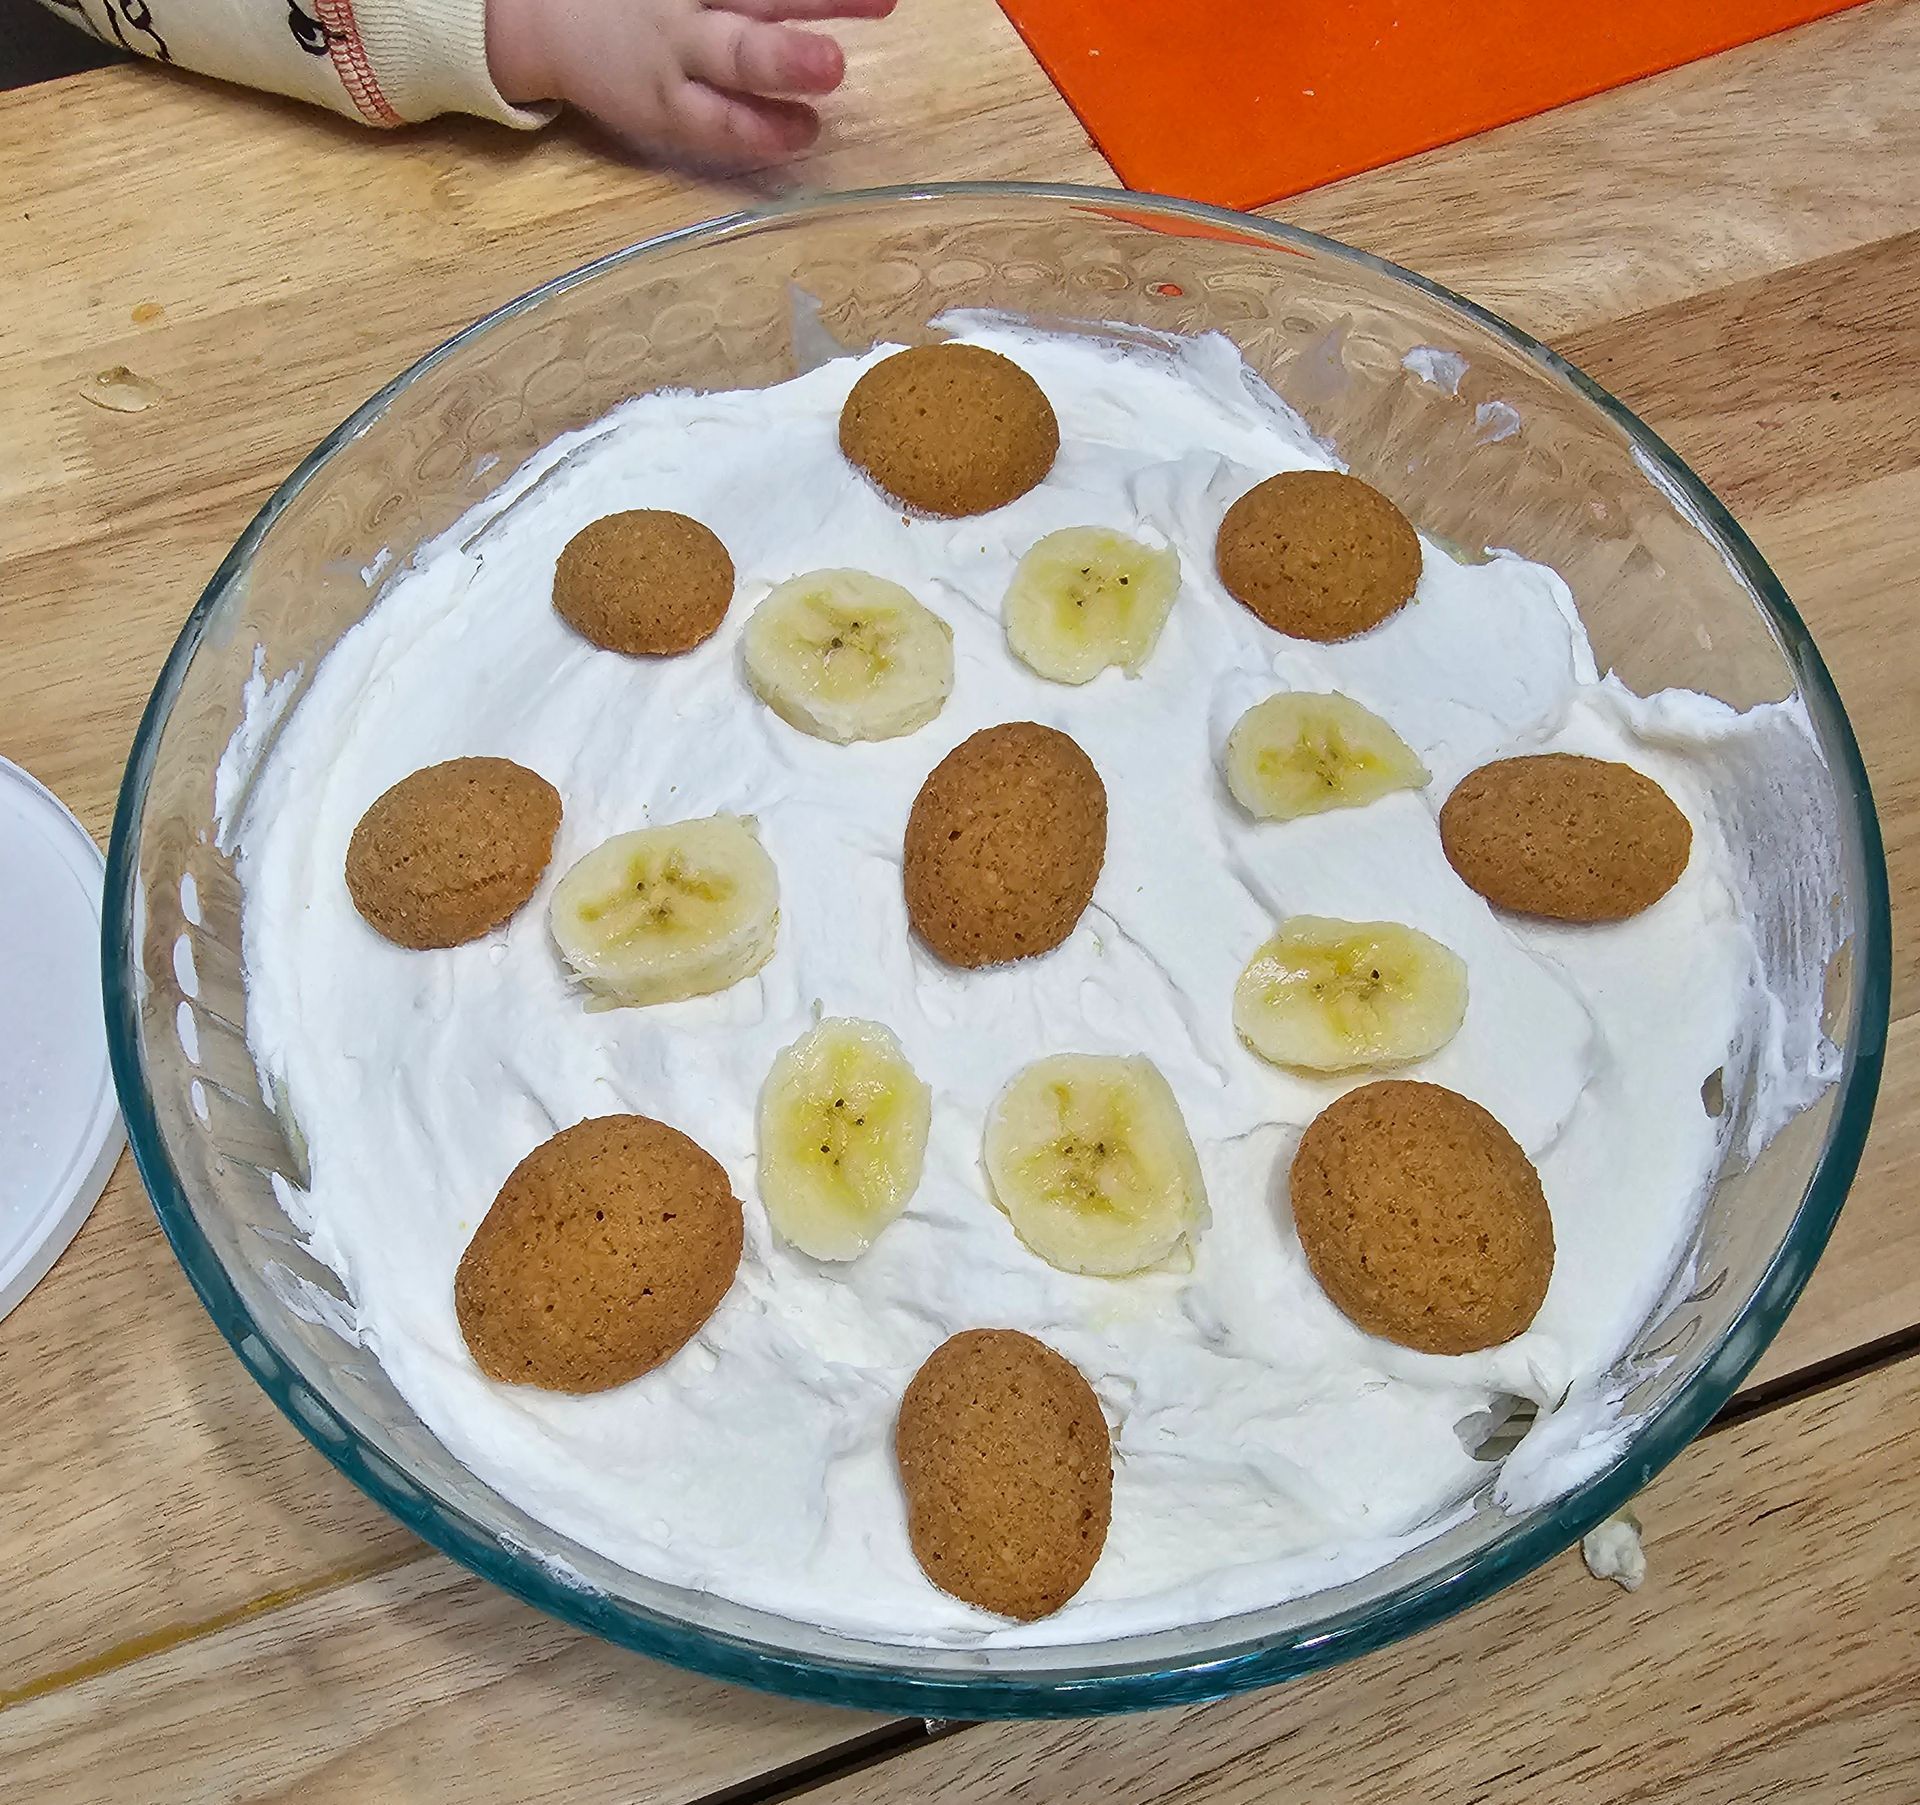
- Create a layer of Tru Whip/ whipped topping on top of the layer of pudding.
- Repeat steps 2-5 until all materials are used or you are satisfied with your layers.
- Refrigerate for at least 30 min before serving.